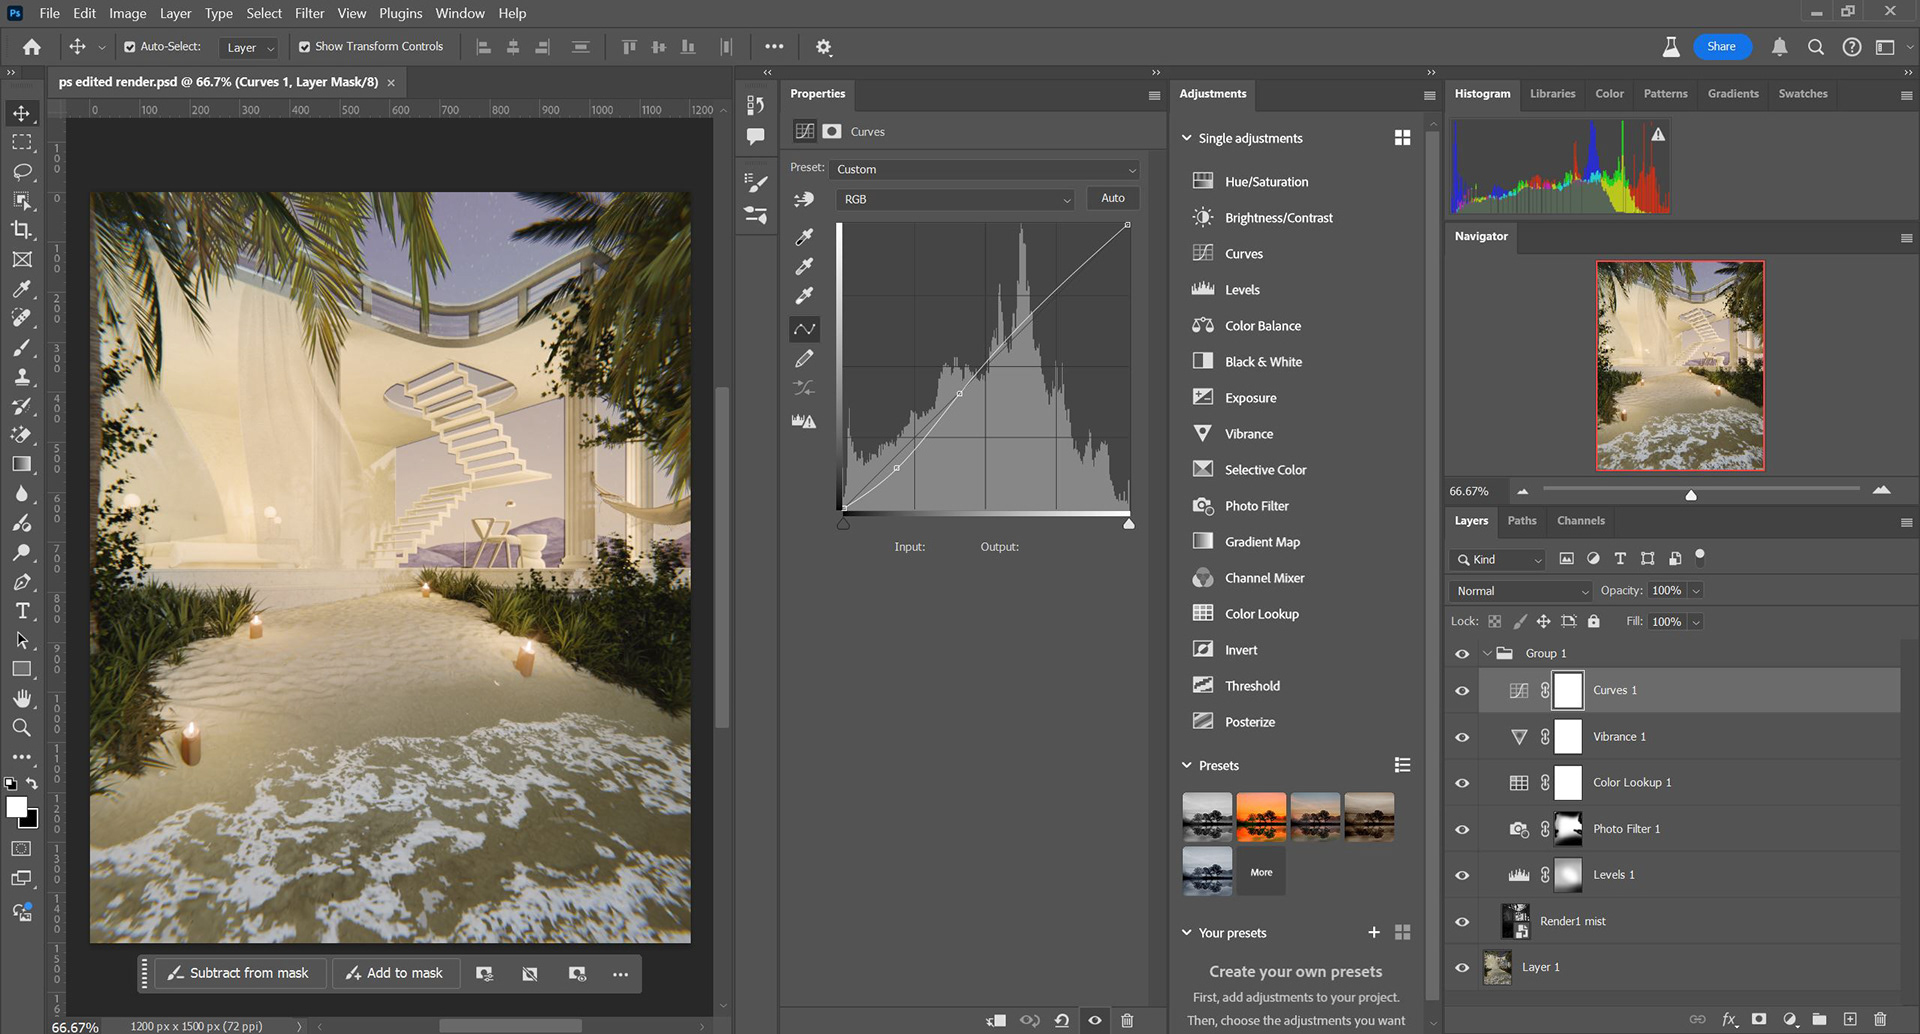
Created using Blender and edited in Adobe Photoshop
I decided I wanted to jump back into 3D modelling and rendering so I followed James Tralie's course 'Rendering Photorealistic 3D Scenes in Blender' on Domestika. I also edited the final image in Adobe Photoshop
I really like the dreamy look of this final render.
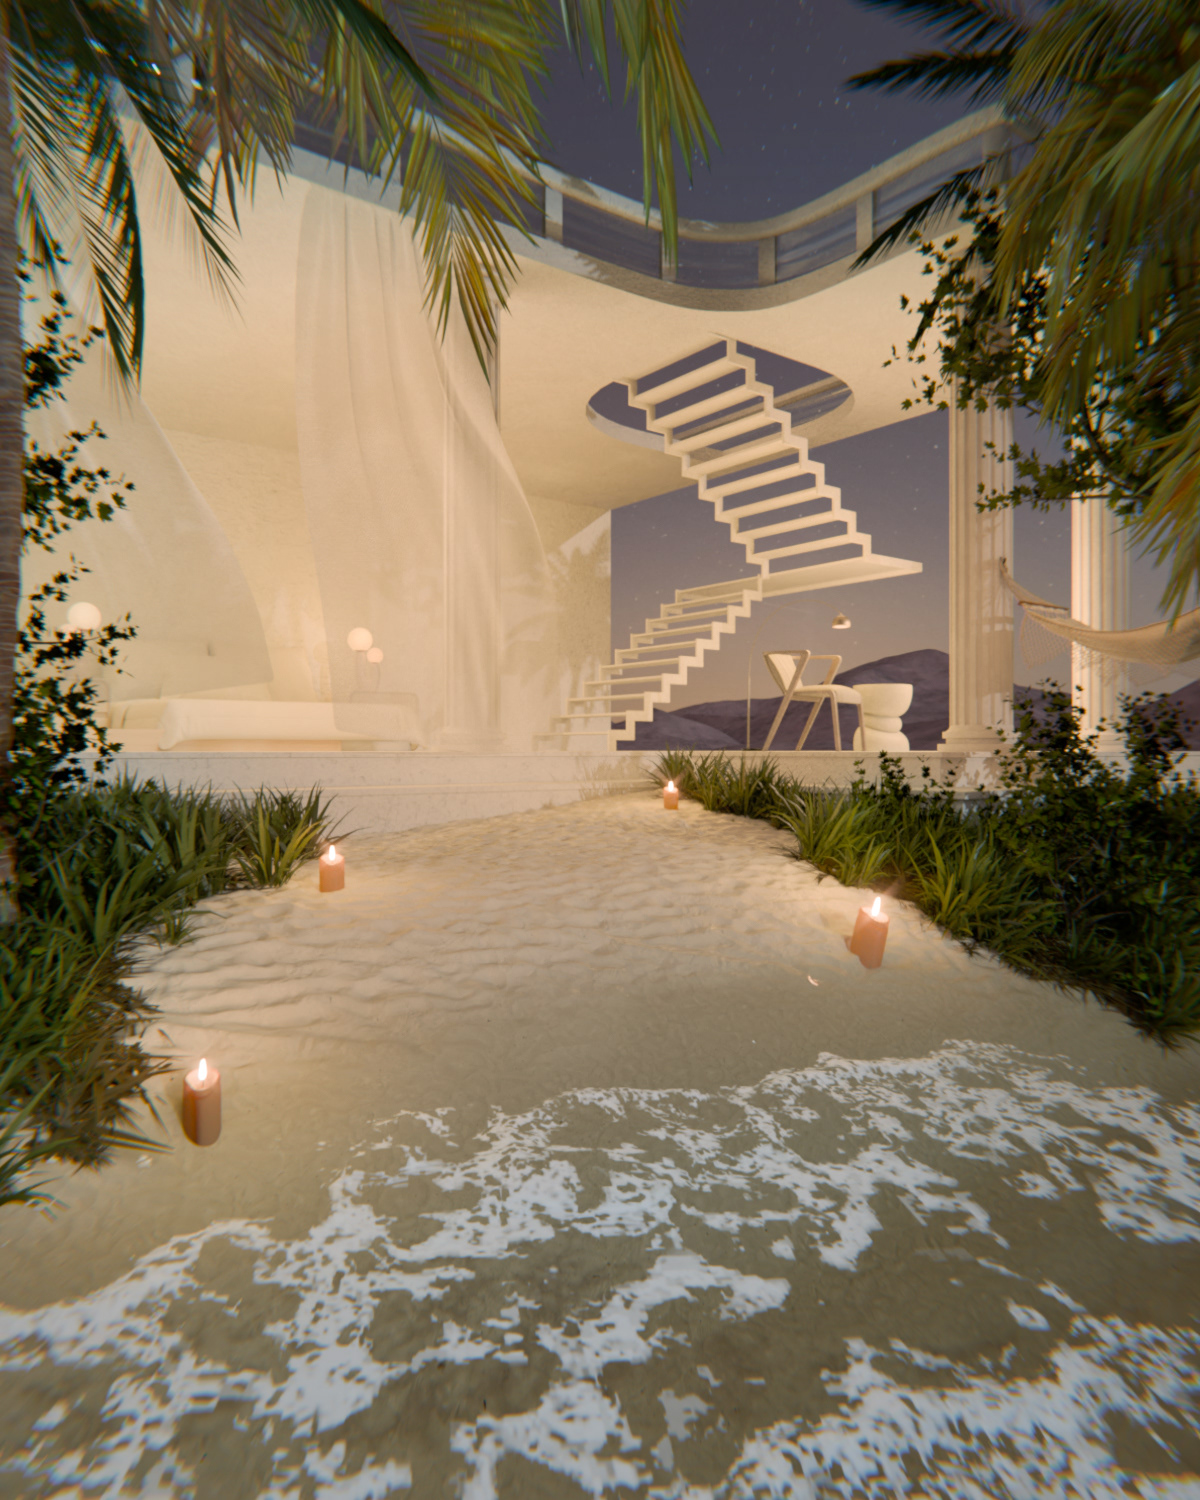
My finished render following James's instructions on the course.
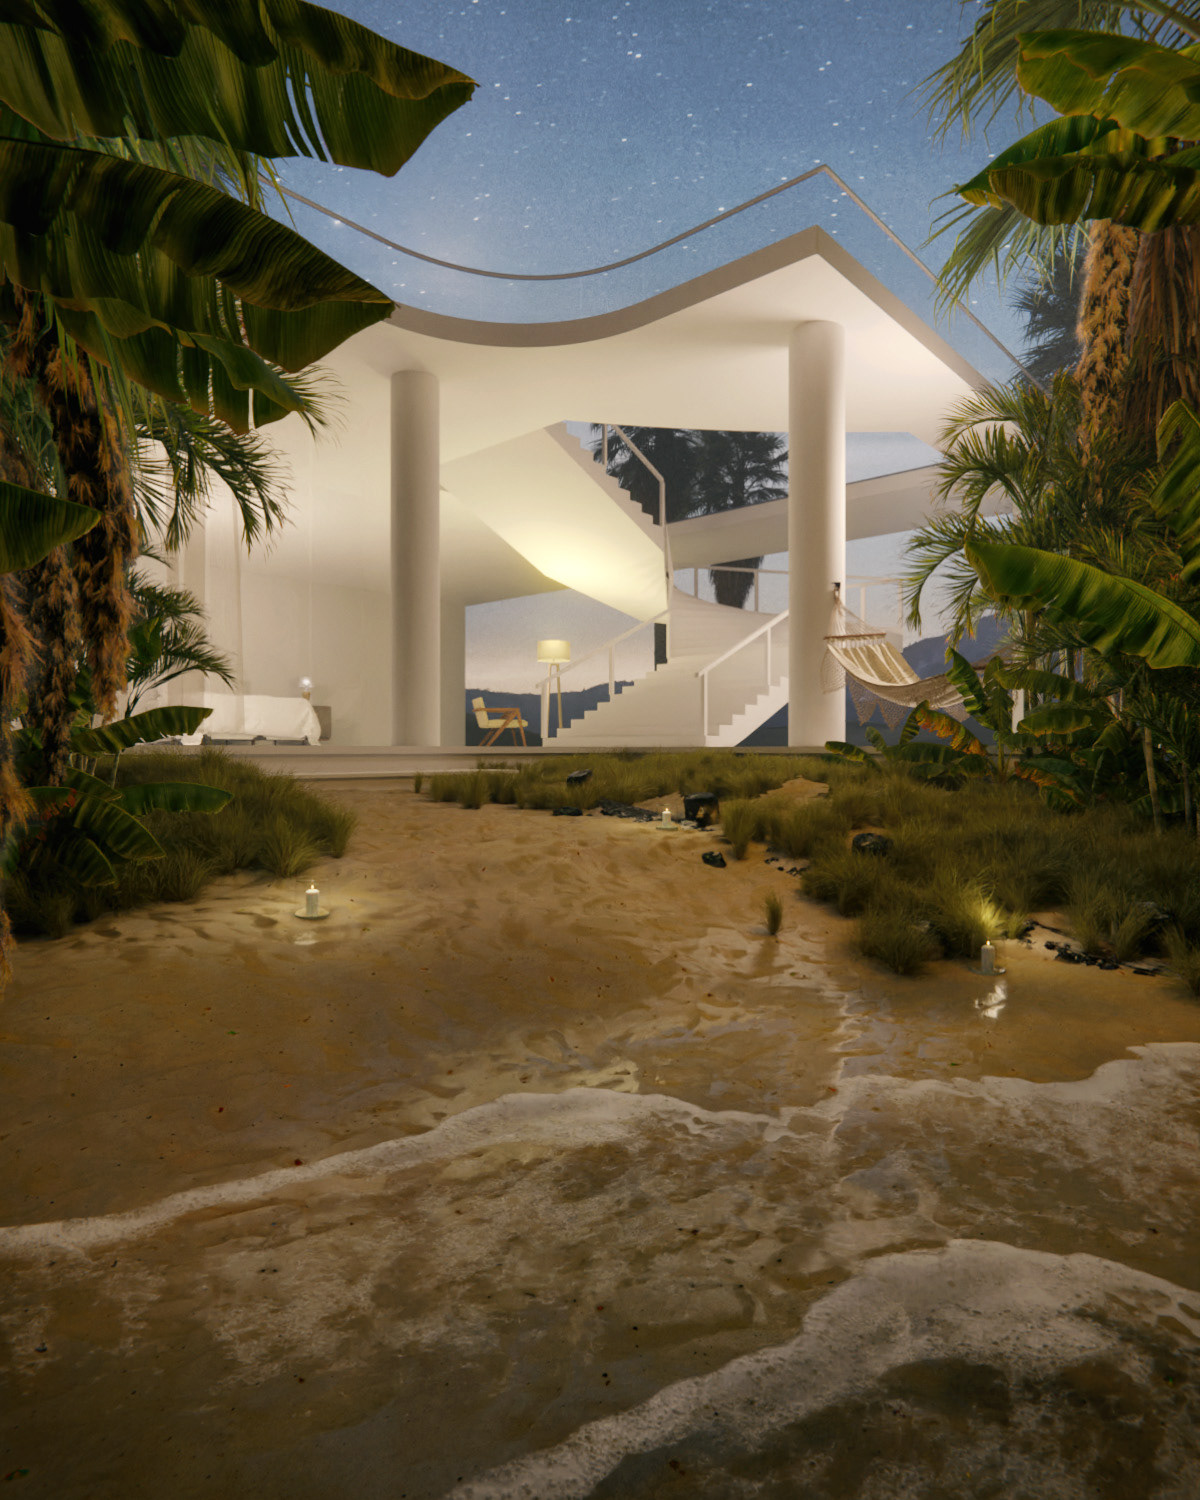
The render that James Tralie created that was the inspiration for the course.
The assets shown in this image were modelled by myself
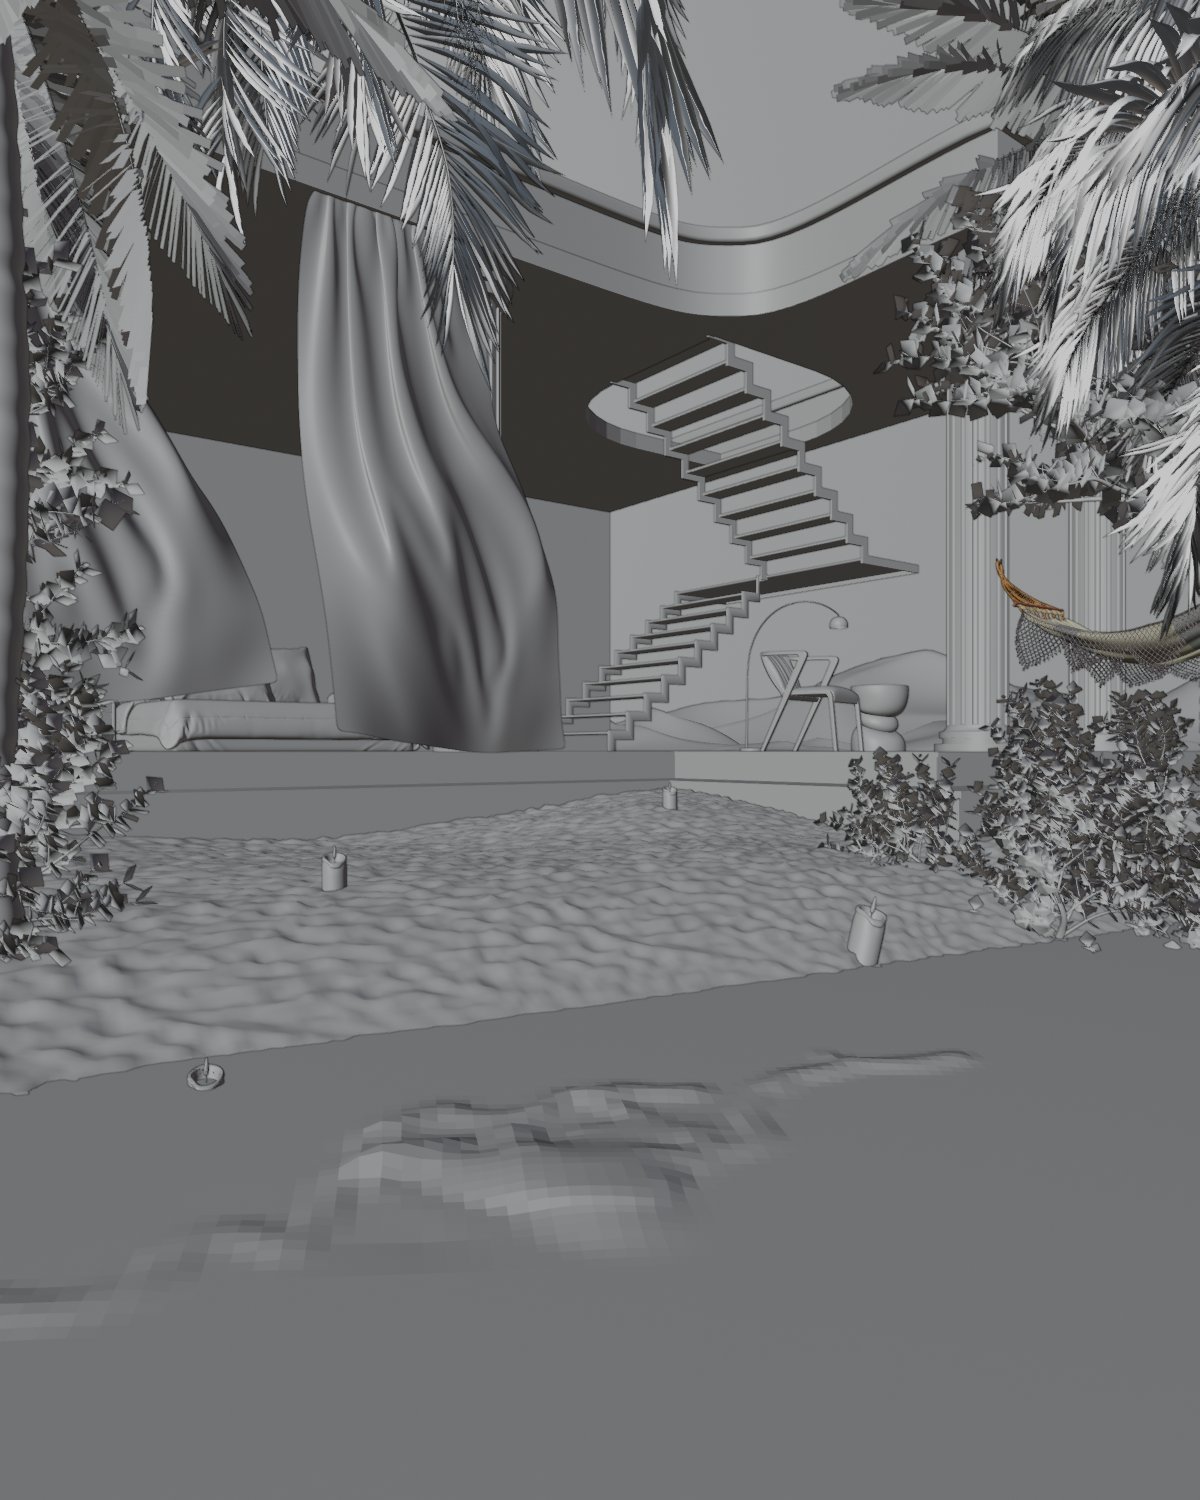
This image shows the assets I modelled for the scene as well as the assets I added using the BlenderKit add-on
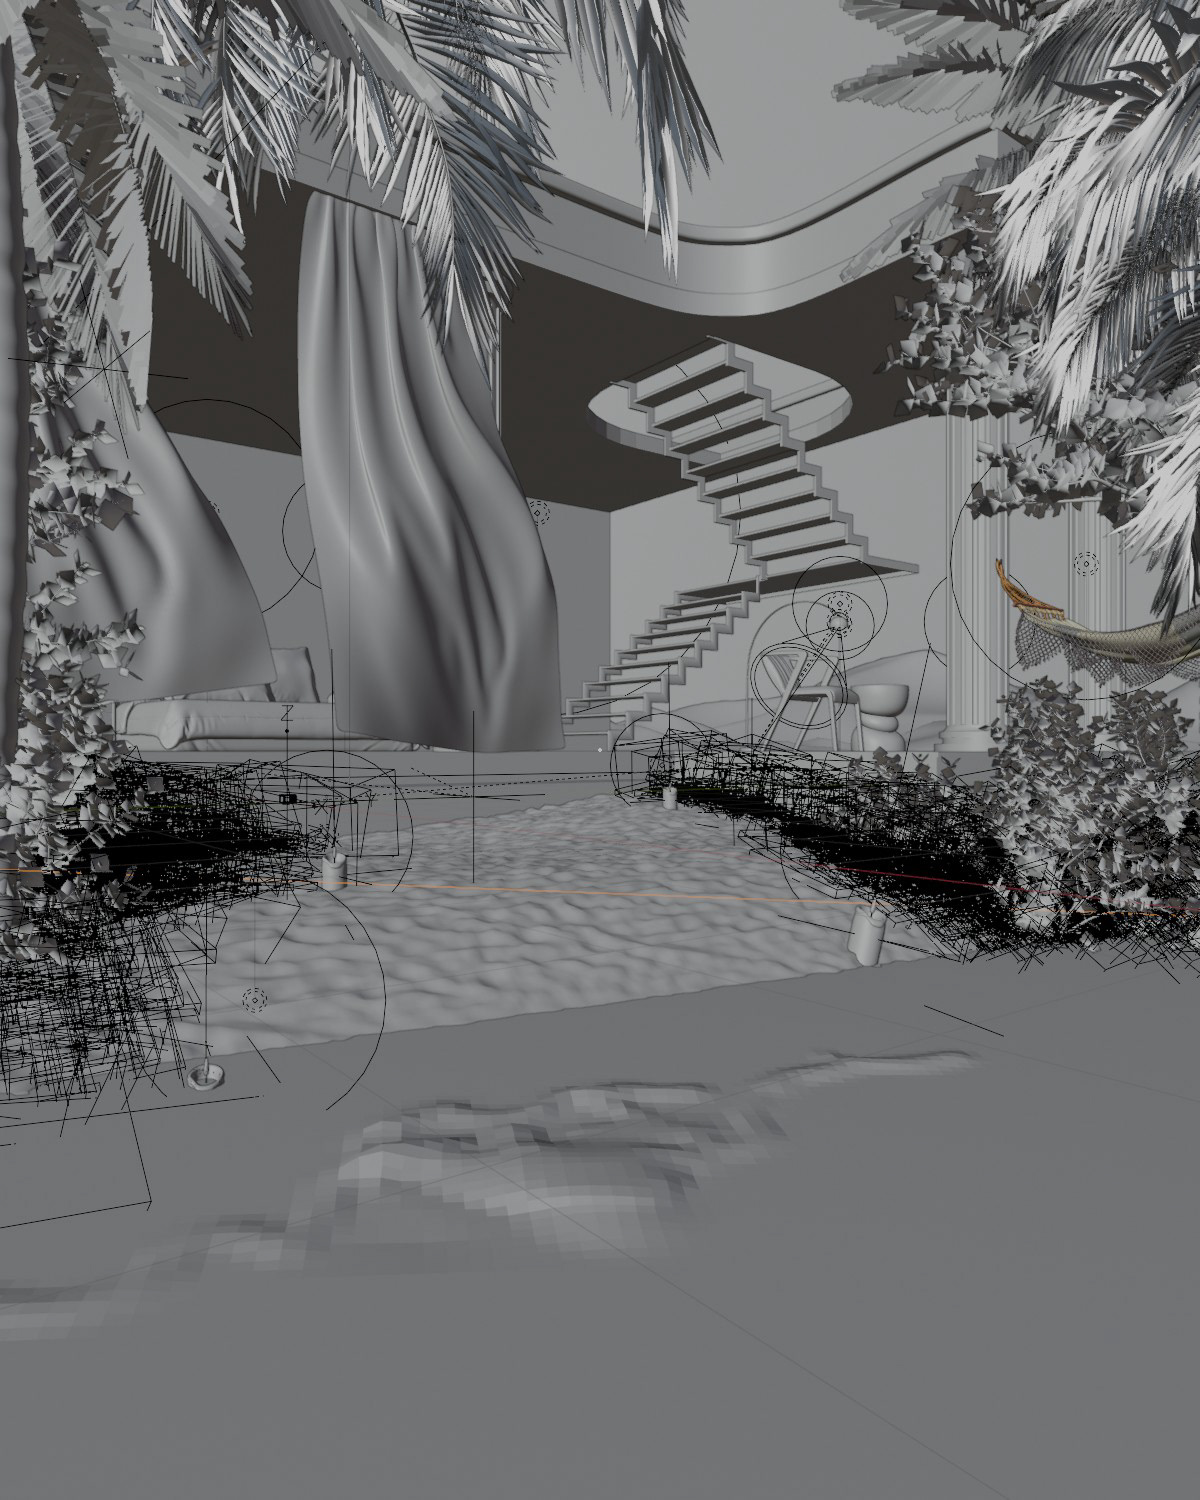
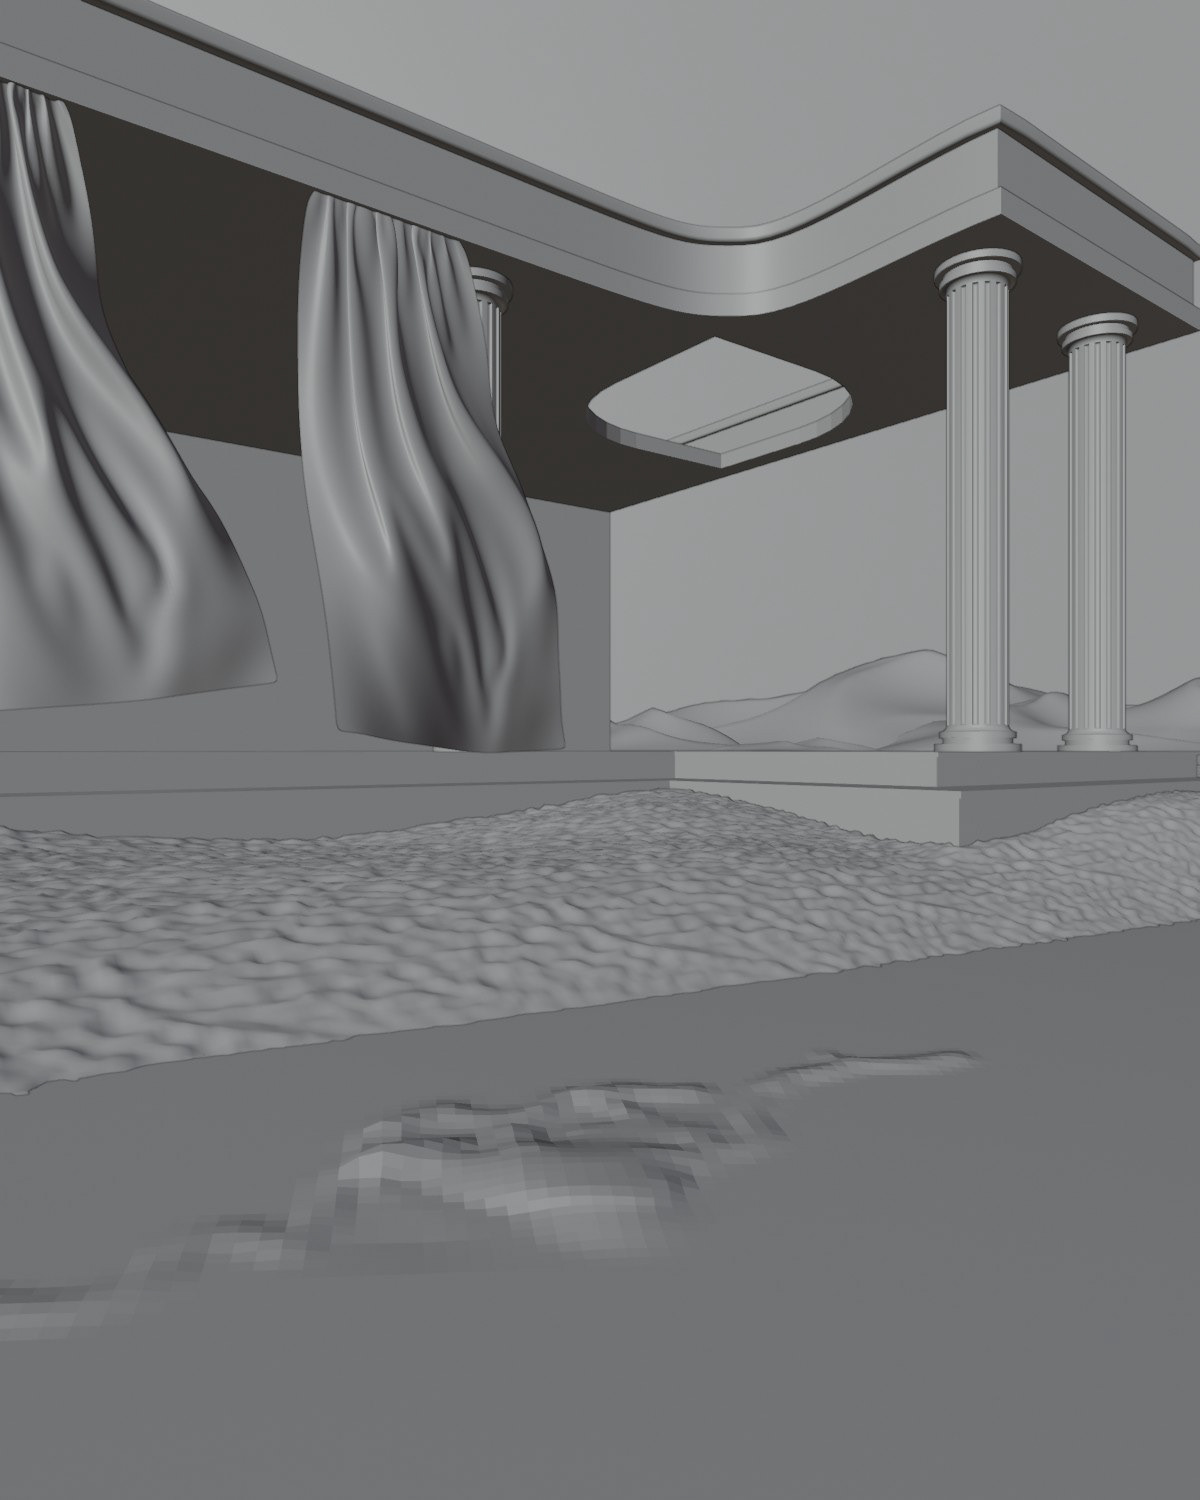
This image shows all the lighting I added in
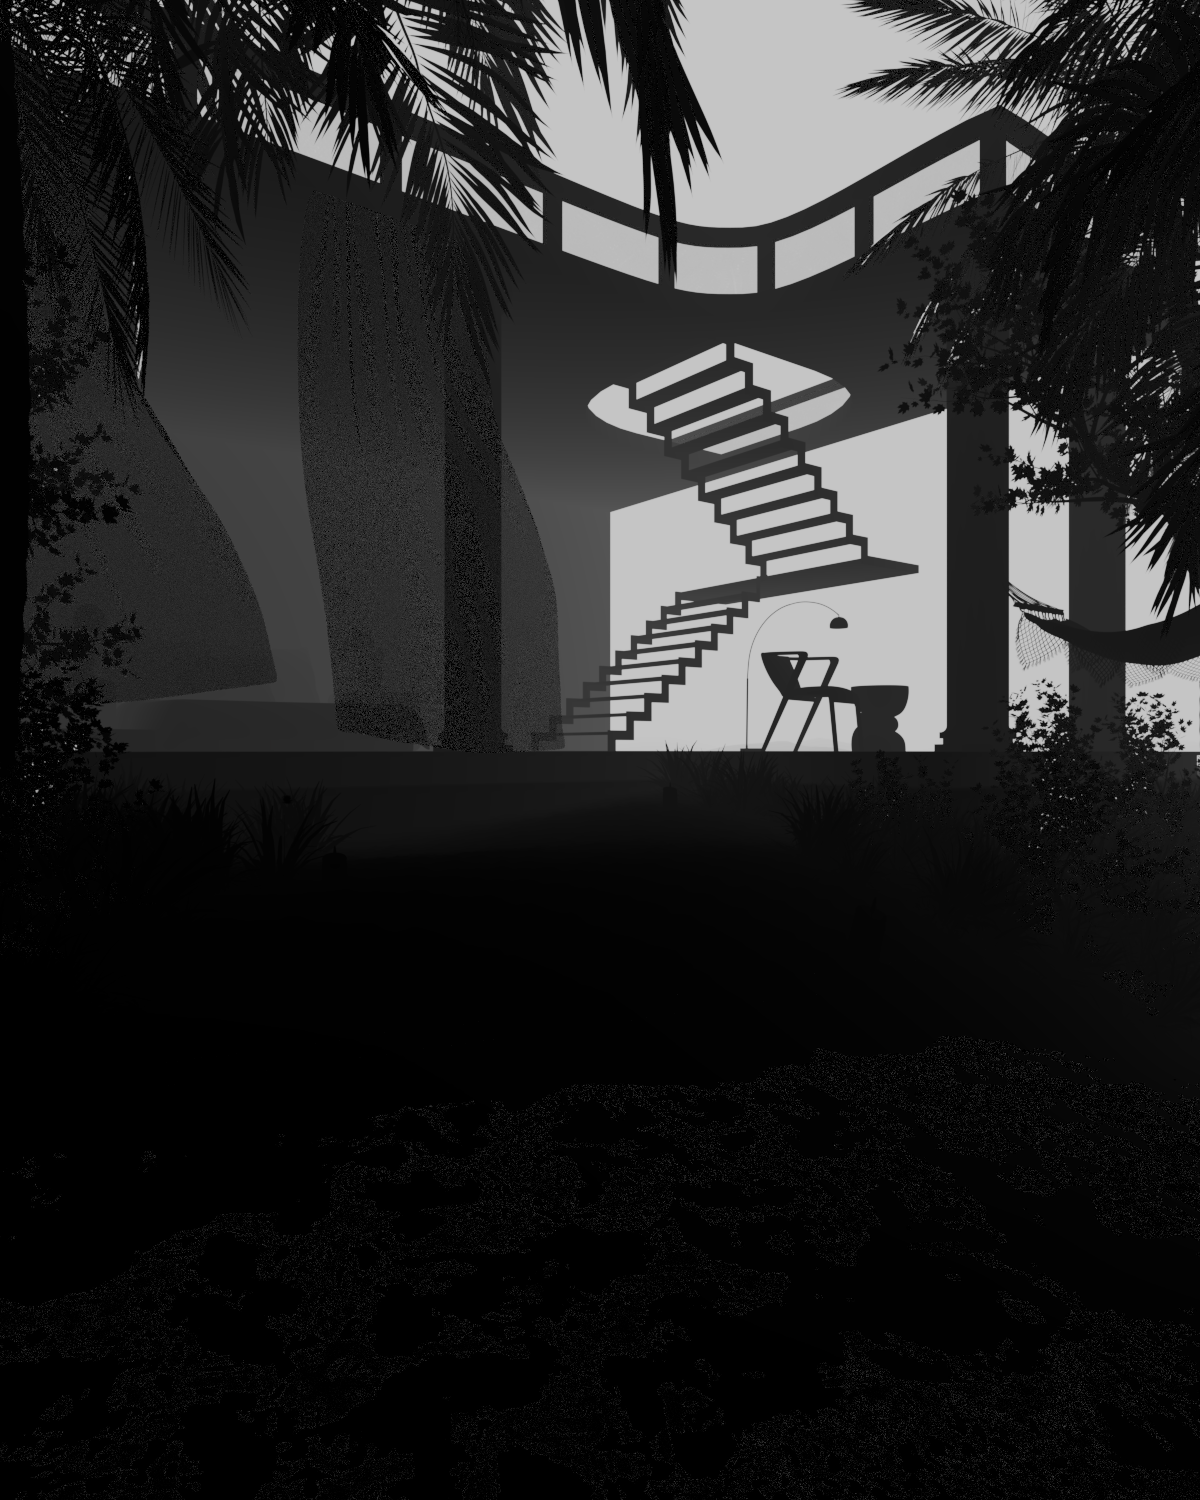
Created a mist render to add more depth to the image, particularly in the mountain scenery at the back.
Learning Blender from YouTube
The image on the left shows a haunted house model on Blender that I created following a "Blender 3.3 Spooky House Tutorial" video on YouTube by Polygon Runway
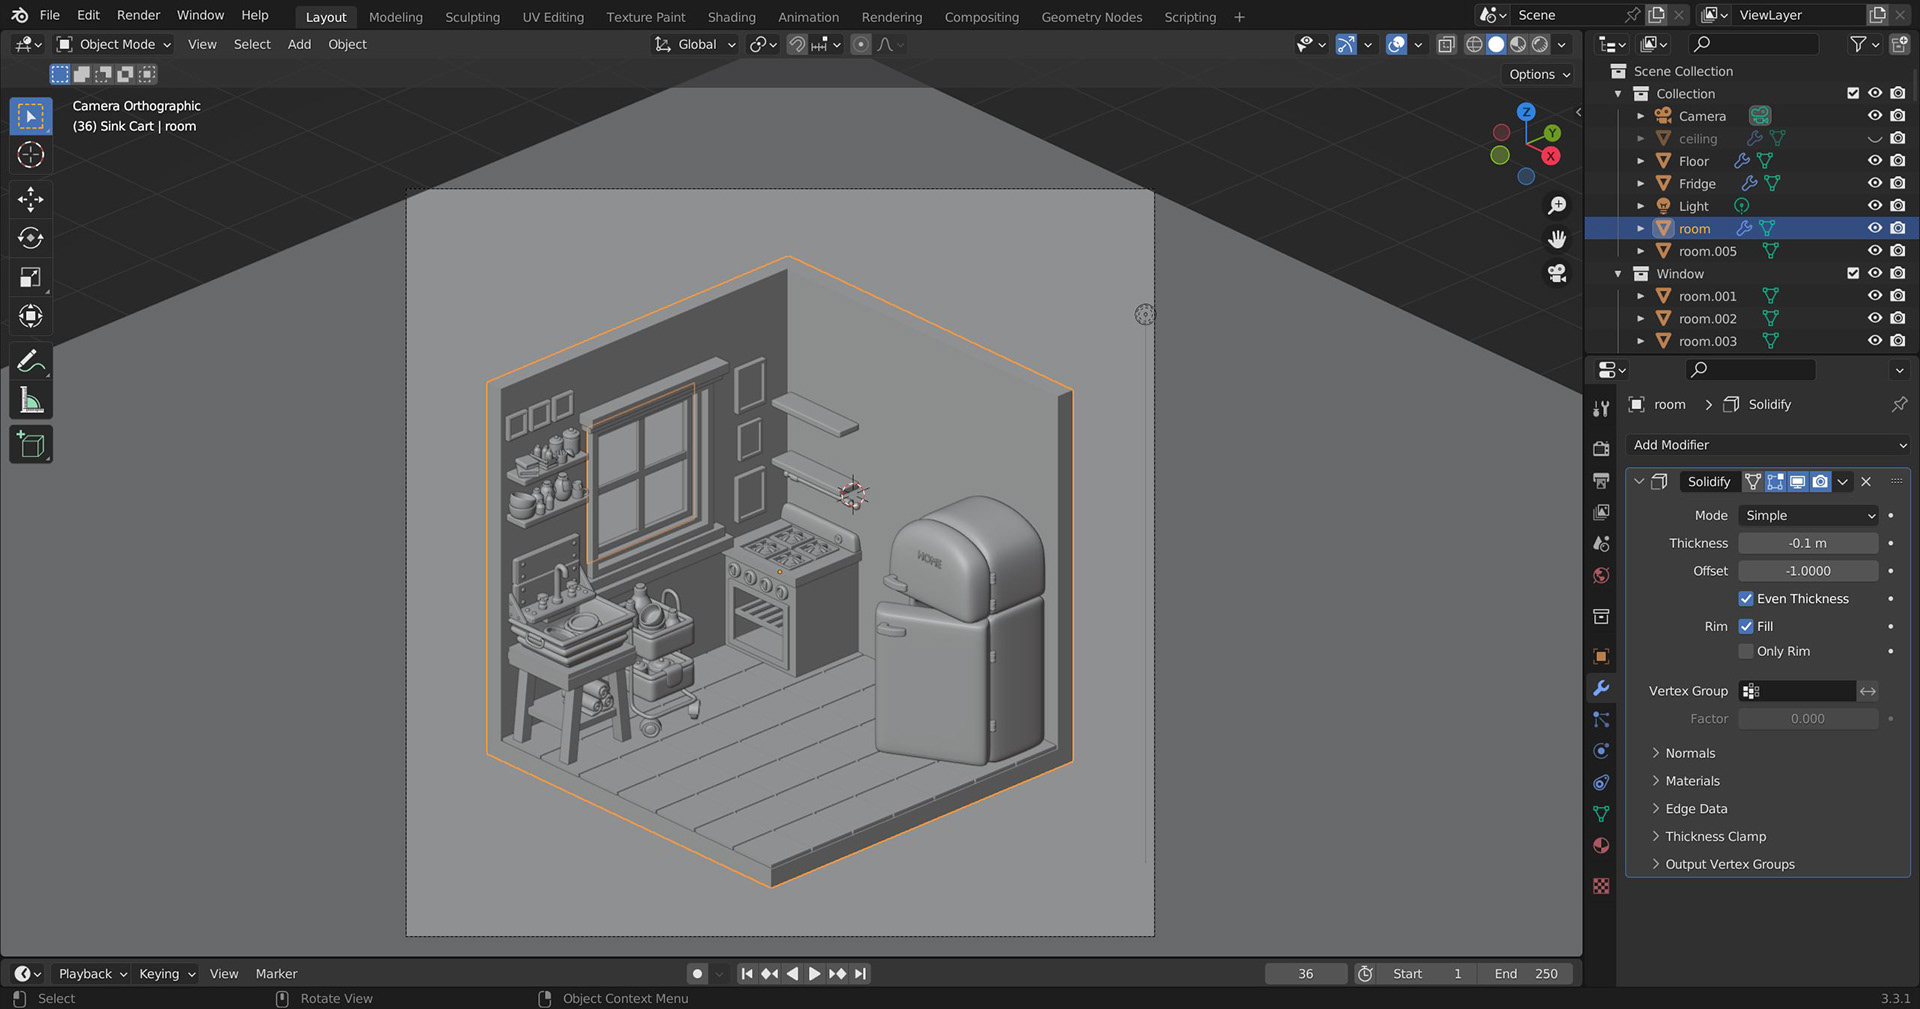
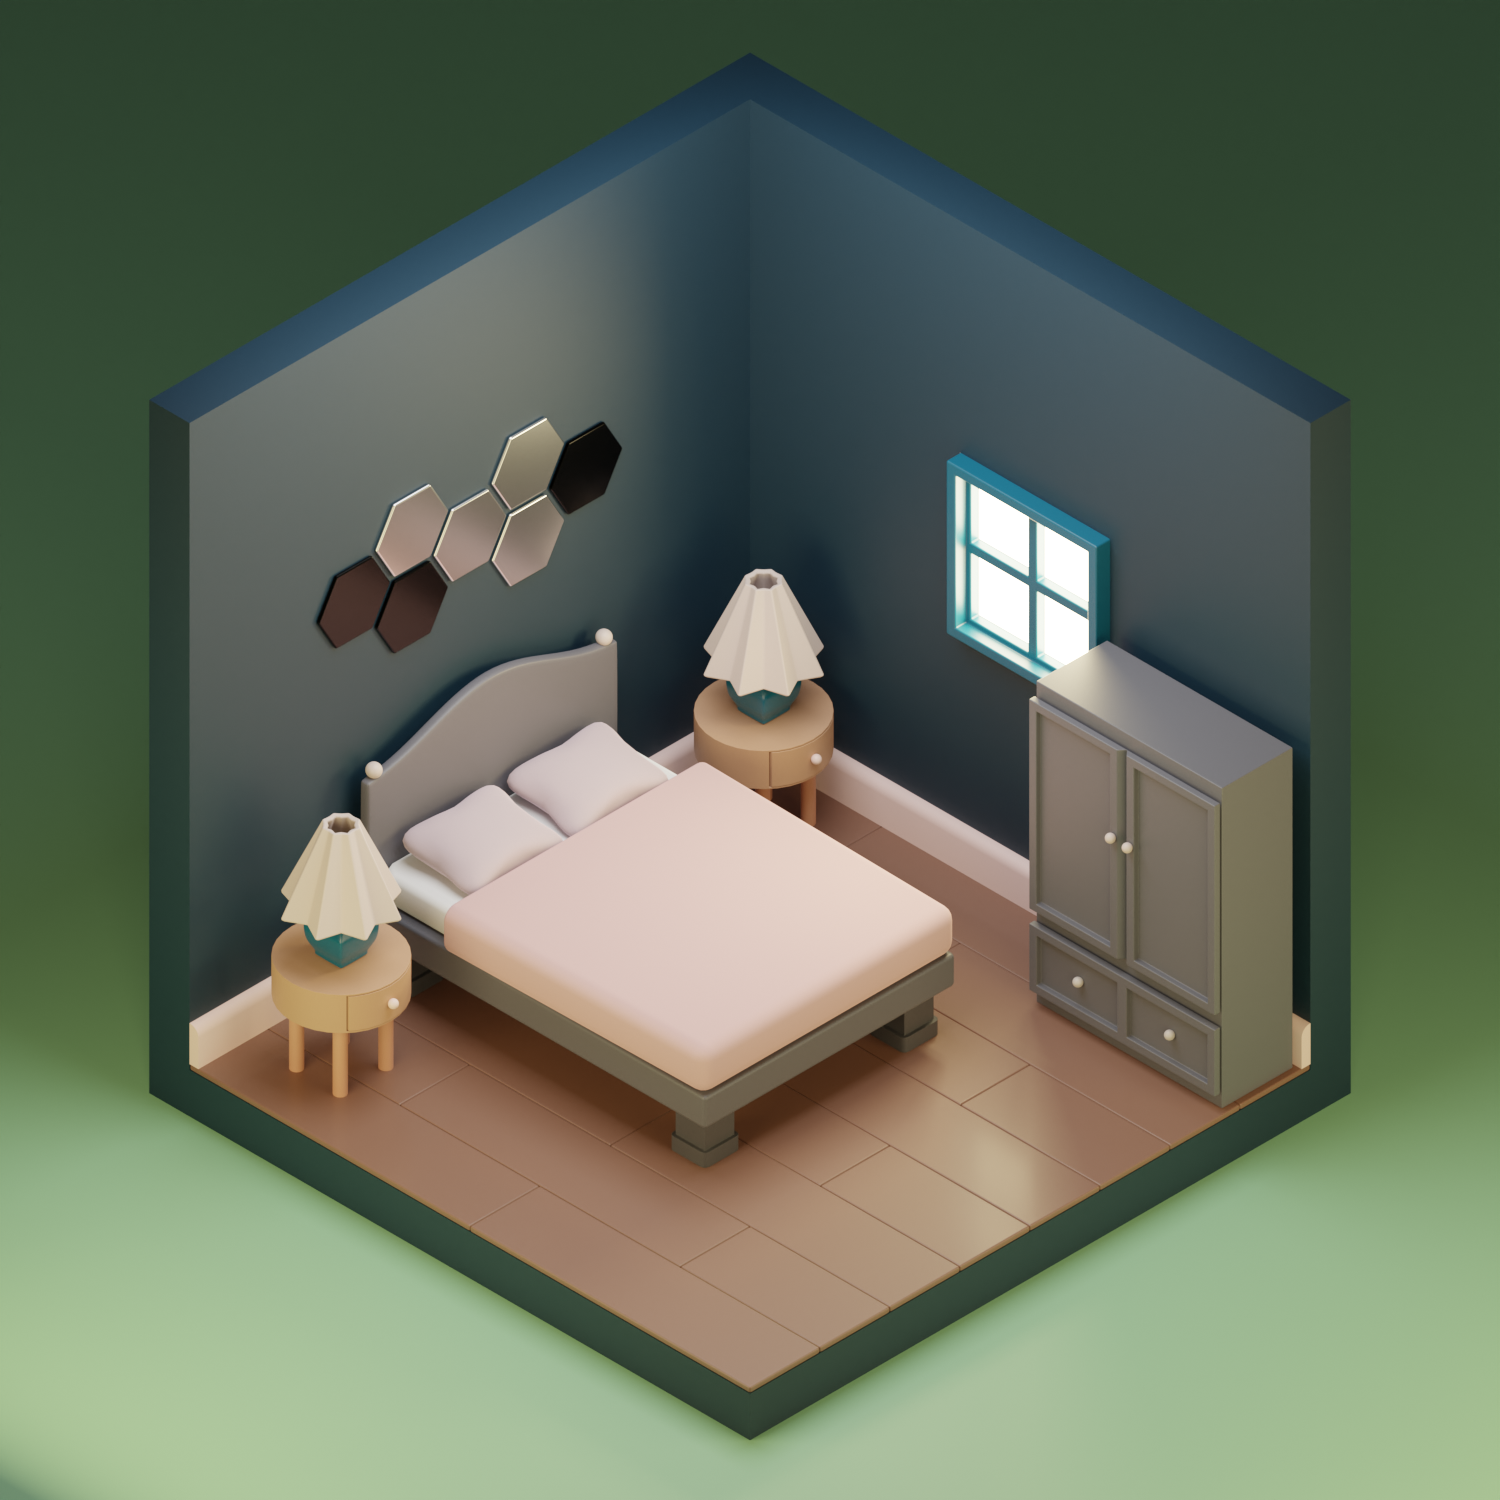
The image on the right shows an isometric room on Blender that I created by following a "Create Your First Isometric Scene - Comfy and Cozy Bedroom - Beginner Friendly Step by Step Tutorial" video on YouTube by Left Brain CG Art

The below left image is from a fluid simulation I was experimenting with by watching "Blender - Easy Fluid Simulation 2021" video tutorial on YouTube by Kenny Phases.
The below right image is a screen capture from a model I was building following a "Cozy Kitchen" tutorial on YouTube by Nicky Blender